Lugging heavy watering cans in the blazing summer heat is exhausting. But when my local district introduced strict summer watering restrictions (only allowing watering on specific days and times!), my tomatoes and cucumbers started to suffer. By the time my designated watering day rolled around, the soil was bone dry, and my plants were wilting.

I needed a solution that was efficient, saved water, and didn’t tie me to a garden hose for hours. The answer? A DIY drip irrigation system.
Here is how I skipped the expensive pre-packaged kits and built a custom, gravity-fed system for my garden beds for under $20.
Why I Skipped the "All-In-One" Online Kits
When I first decided to install drip irrigation, I looked at ready-made kits online. The problem? They never fit my garden's exact layout. They either had too much of the wrong tubing, flimsy fittings, or lacked individual shut-off valves.
Instead, I headed to my local big-box hardware store (like Home Depot or Lowe's) to buy the components a la carte. Treating it like a plumbing Lego set allowed me to get exactly what I needed for cheaper.
The Materials and The Math
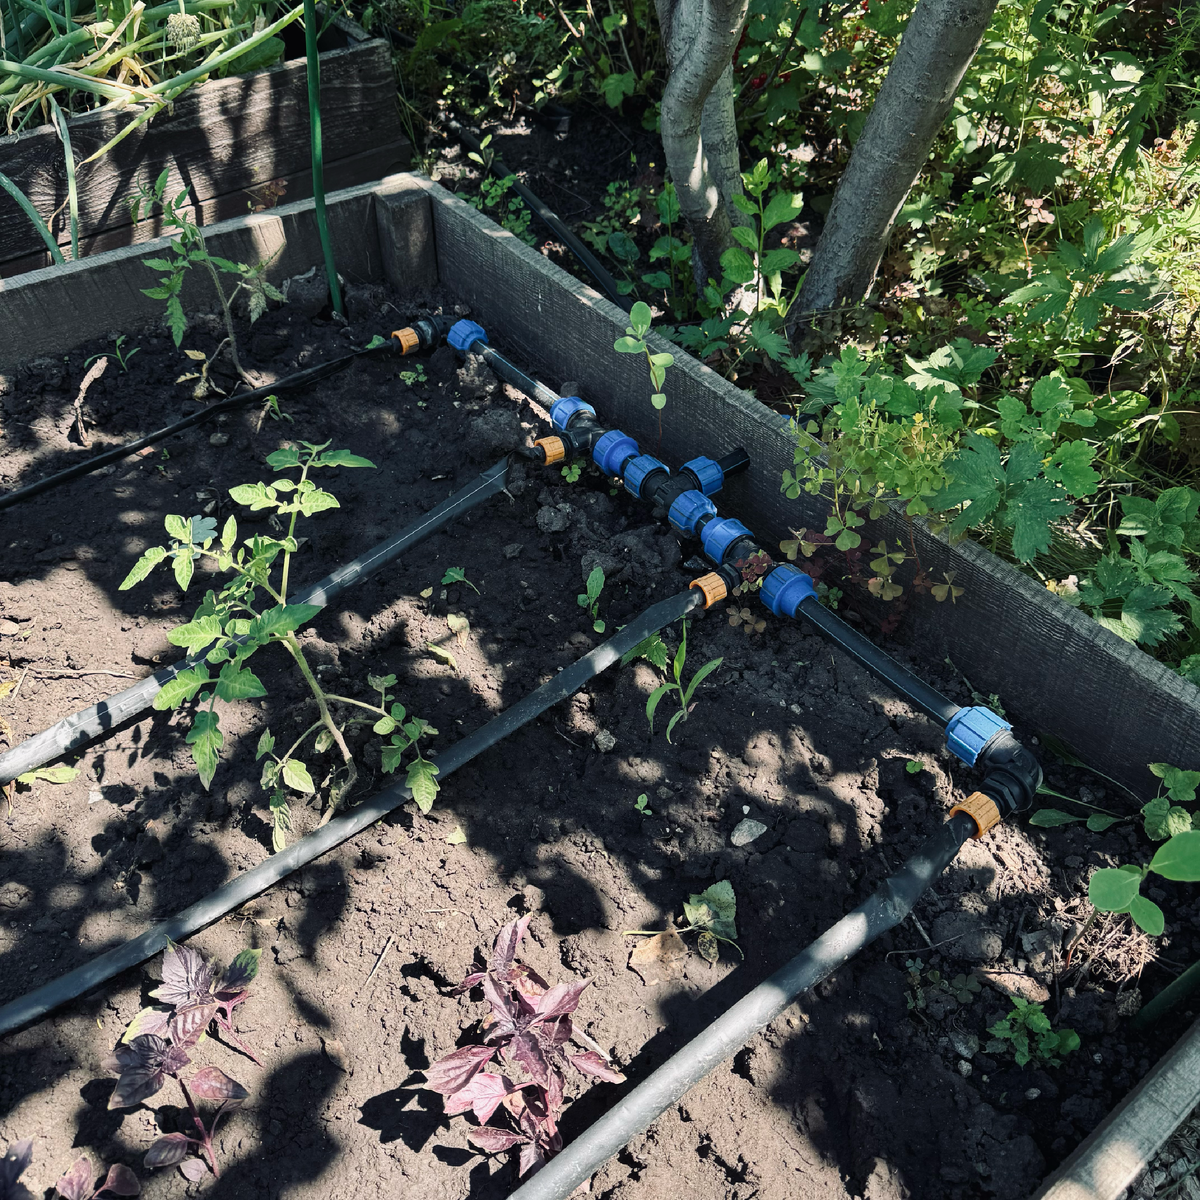
Before shopping, I sketched my garden layout. I have five raised beds, each about 15 feet long (three for vegetables, two for raspberries).
Here is what I bought:
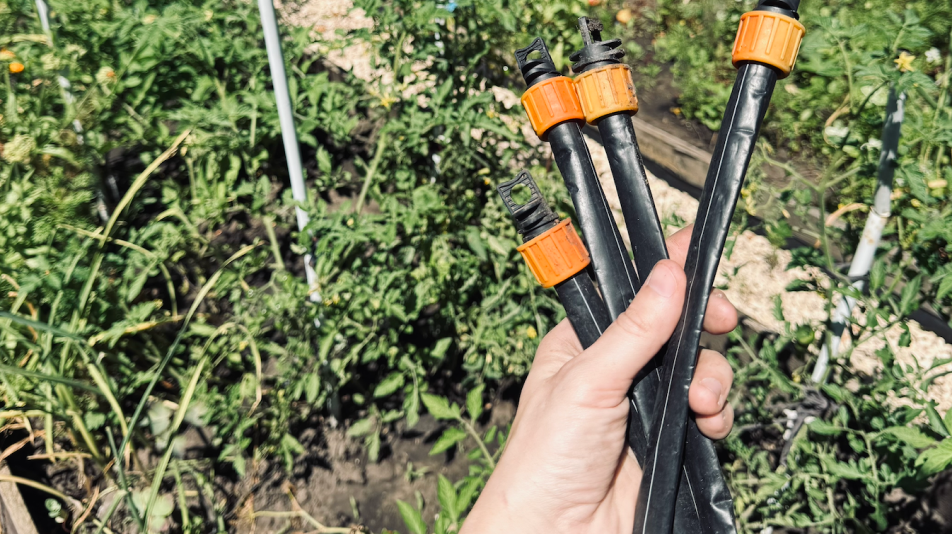
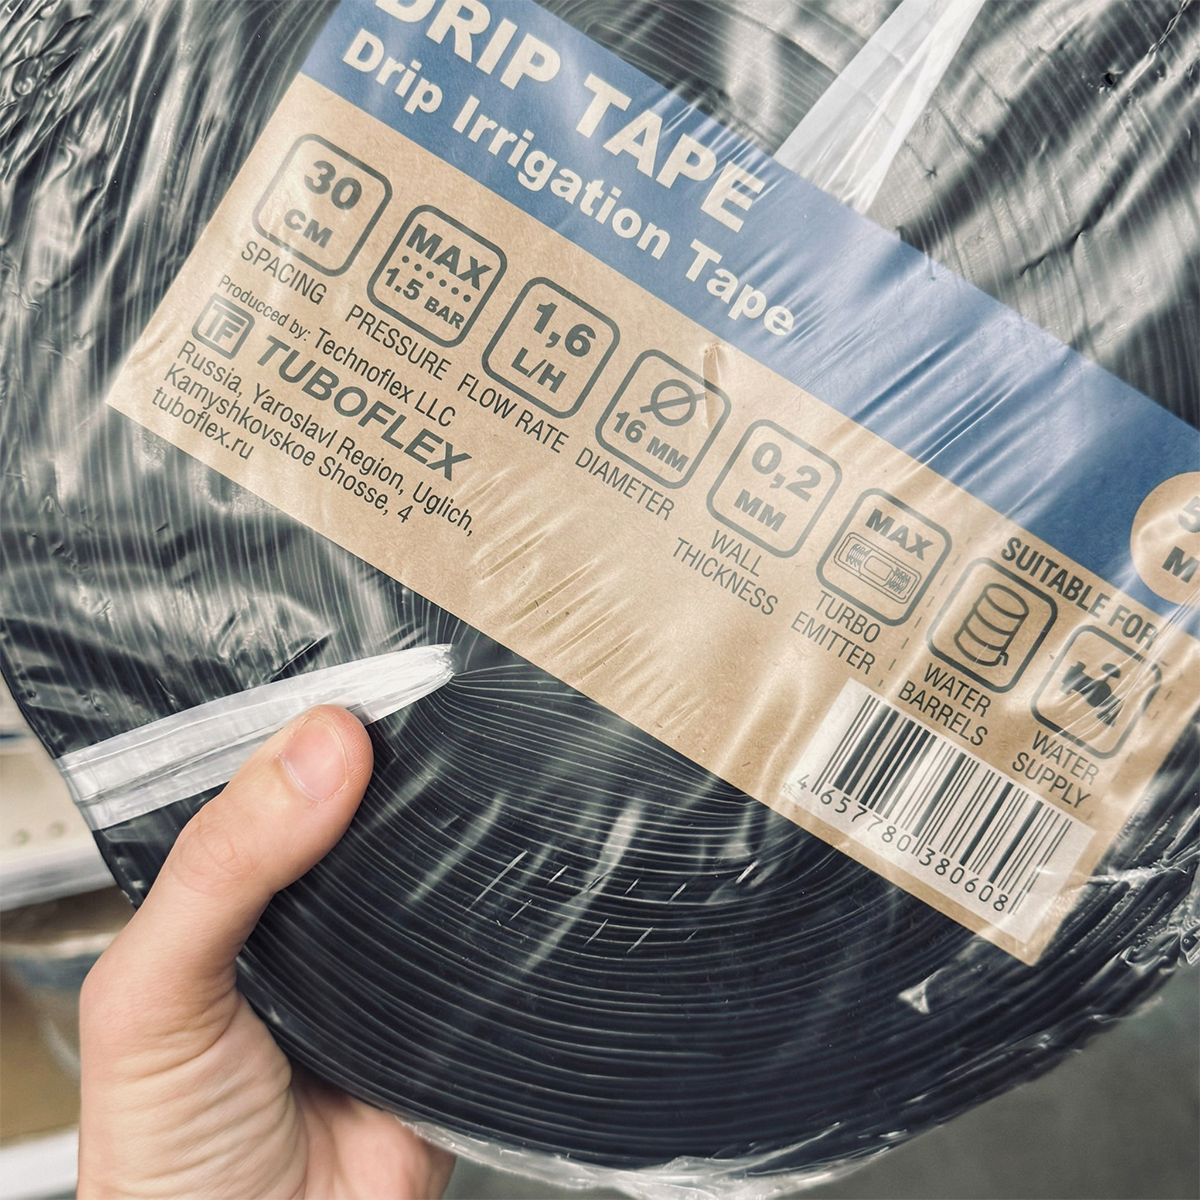
Drip Tape with Built-In Emitters: I bought a 150-foot roll to ensure I had enough for the rows and the spacing between them.
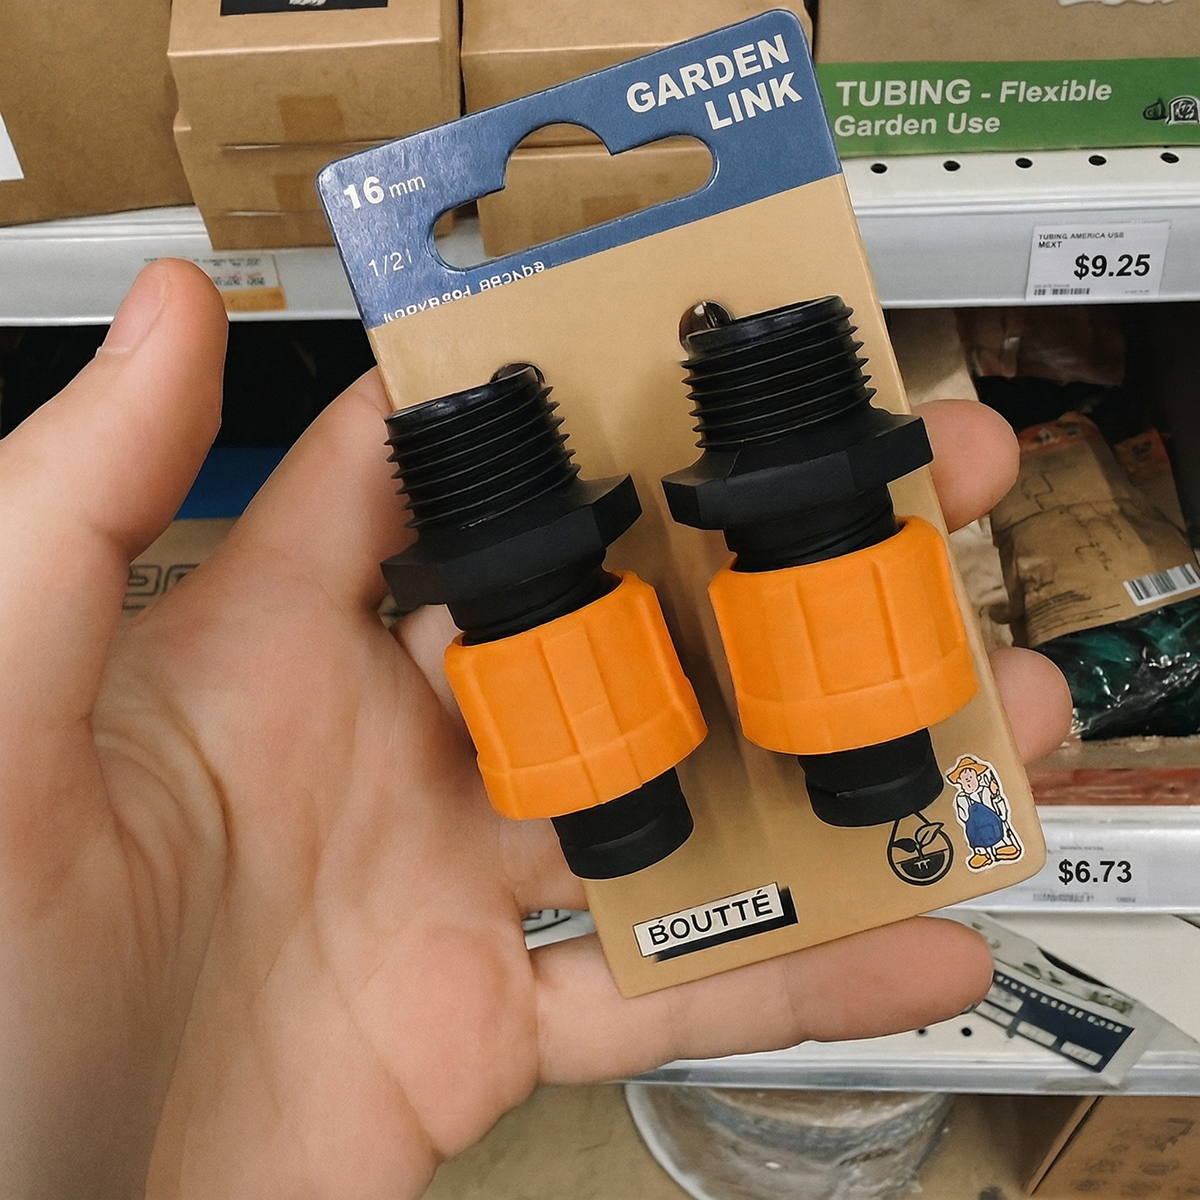
1/2-Inch Poly Tubing: I used this as my main "header" line (I actually had some leftover from a previous project).
Barbed Tees and Connectors: To branch the drip tape off the main line.
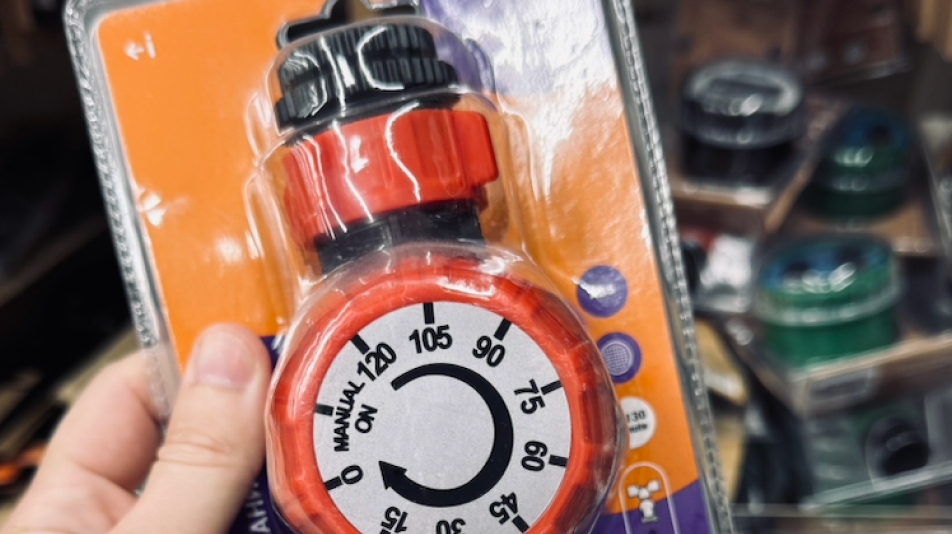
In-Line Shut-Off Valves: I bought two of these so I could water the vegetables and the raspberries on different schedules.
The 2-Hour Setup Process
Installing the system was incredibly straightforward and took me just under two hours:
Lay It Out: I rolled out the drip tape along the base of my plants.
Connect the Header: I attached the barbed tees to the main 1/2-inch poly tubing.
Install the Valves: I placed the shut-off valves at the start of the vegetable and raspberry zones.
Attach the Emitters: I connected the drip lines to the main header.
The Test Run: I turned the water on, checked for leaks, and pushed the tubing tighter onto the fittings where necessary.
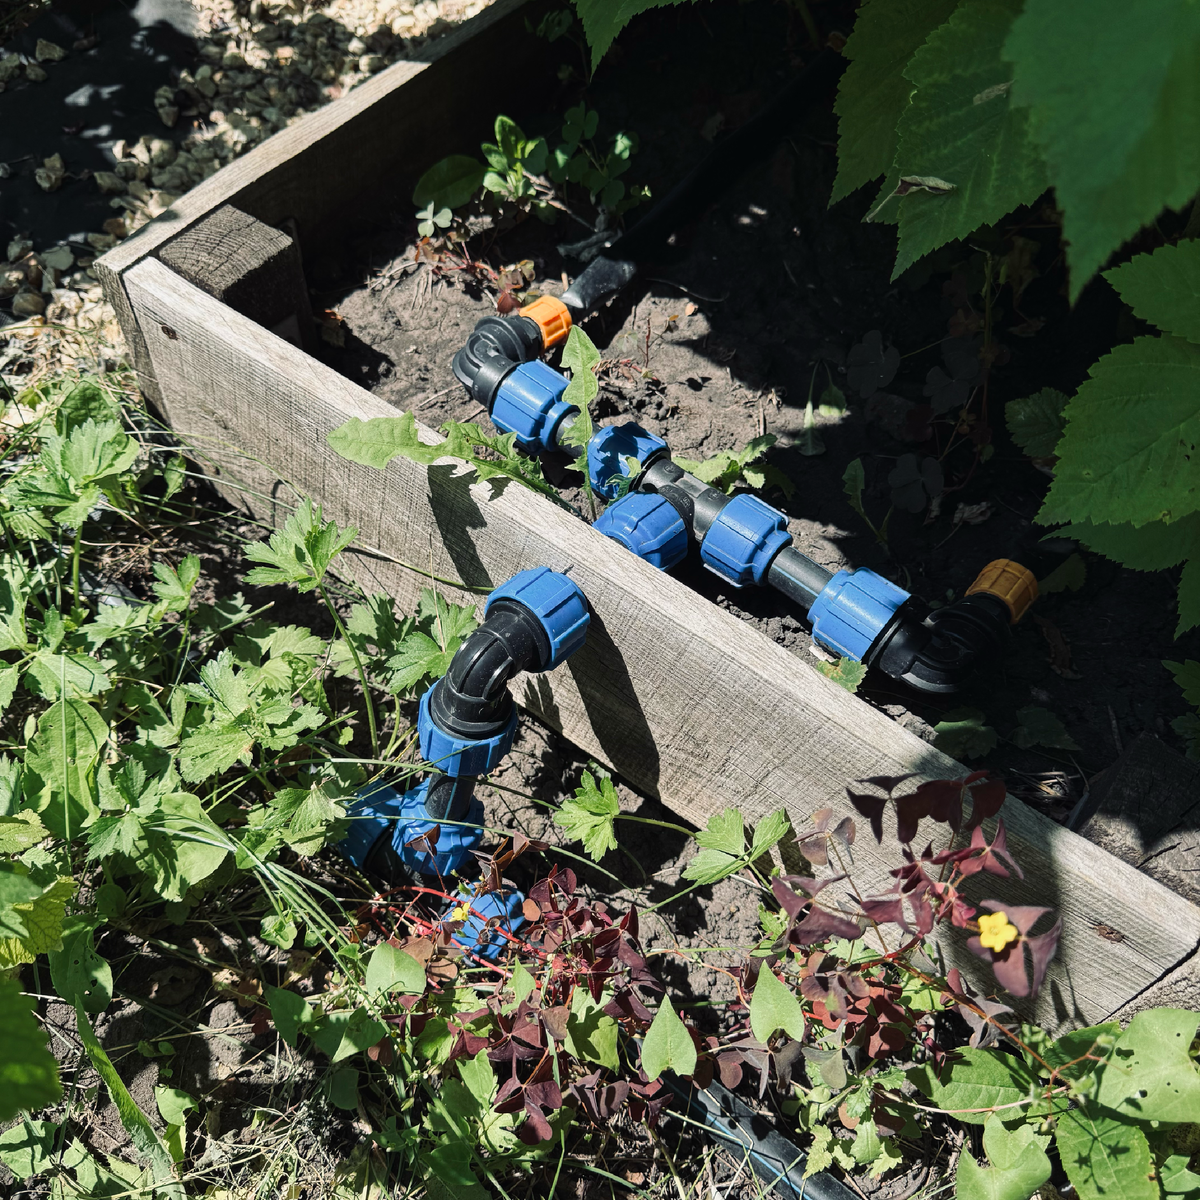
Crucial Pro-Tip: The Gravity-Fed Secret Do not hook basic drip tape directly to your city water faucet! Municipal water pressure is way too high and will literally blow the fittings apart. I run my system directly from a Rain Barrel. The gentle, gravity-fed pressure provides a perfect, steady drip without needing an expensive pressure regulator.
The Results After One Season
Switching to drip irrigation completely transformed my garden:
Healthier Tomatoes: Because the water goes straight to the roots, the leaves stay dry, practically eliminating fungal diseases like blight.
Sweeter Cucumbers: Consistent moisture means no more bitter, stressed cucumbers.
80% Fewer Weeds: The water only drips exactly where the plants are. The pathways stay bone dry, meaning weed seeds simply can't germinate.
Zero Stress: I just flip the valve on, go inside to relax, and let the system do the work.
Final Thoughts
If you are tired of fighting the hose or dealing with strict municipal watering rules, don't be intimidated by drip irrigation. Start small—try doing just one raised bed to see how the connections work. It is an incredibly rewarding weekend project that pays off every single day of the summer.
Do you use sprinklers, a hose, or drip tape in your garden? Let me know your favorite watering hacks in the comments below!

 DIY & Decor
  Edible Garden
  Houseplants
  Lawn & Landscaping
  Outdoor Plants
  Tips & Tools
No comments yet.