If you've ever struggled with starting tomato seeds indoors, you know the frustration. Sometimes the seedlings get leggy and spindly, the leaves turn yellow, and half of them seem to give up before they even make it outside to the garden.

After trying expensive commercial fertilizers with mixed results (and sometimes making the problem worse), I decided to test an old-school agronomy trick I found in a vintage gardening journal: feeding seedlings with wood ash and a drop of iodine.
I was skeptical at first, but after saving my struggling tomato plants, I am officially a believer. Here is how I did it, the exact recipe, and the mistakes you need to avoid.
The Science Behind the Hack
Wood Ash: Hardwood ash is packed with potassium, calcium, and magnesium. It helps build thick, sturdy stems and prevents the yellowing of lower leaves.
Iodine: Tomatoes are one of the few plants that highly benefit from micro-doses of iodine. It acts as a metabolic booster and a natural fungicide, leading to faster blooming and meatier, less watery fruit.
The "Magic" Recipe & Application
To do this safely, you need to make two separate treatments.
What You Need:
Standard 5% Iodine tincture (from your medicine cabinet)
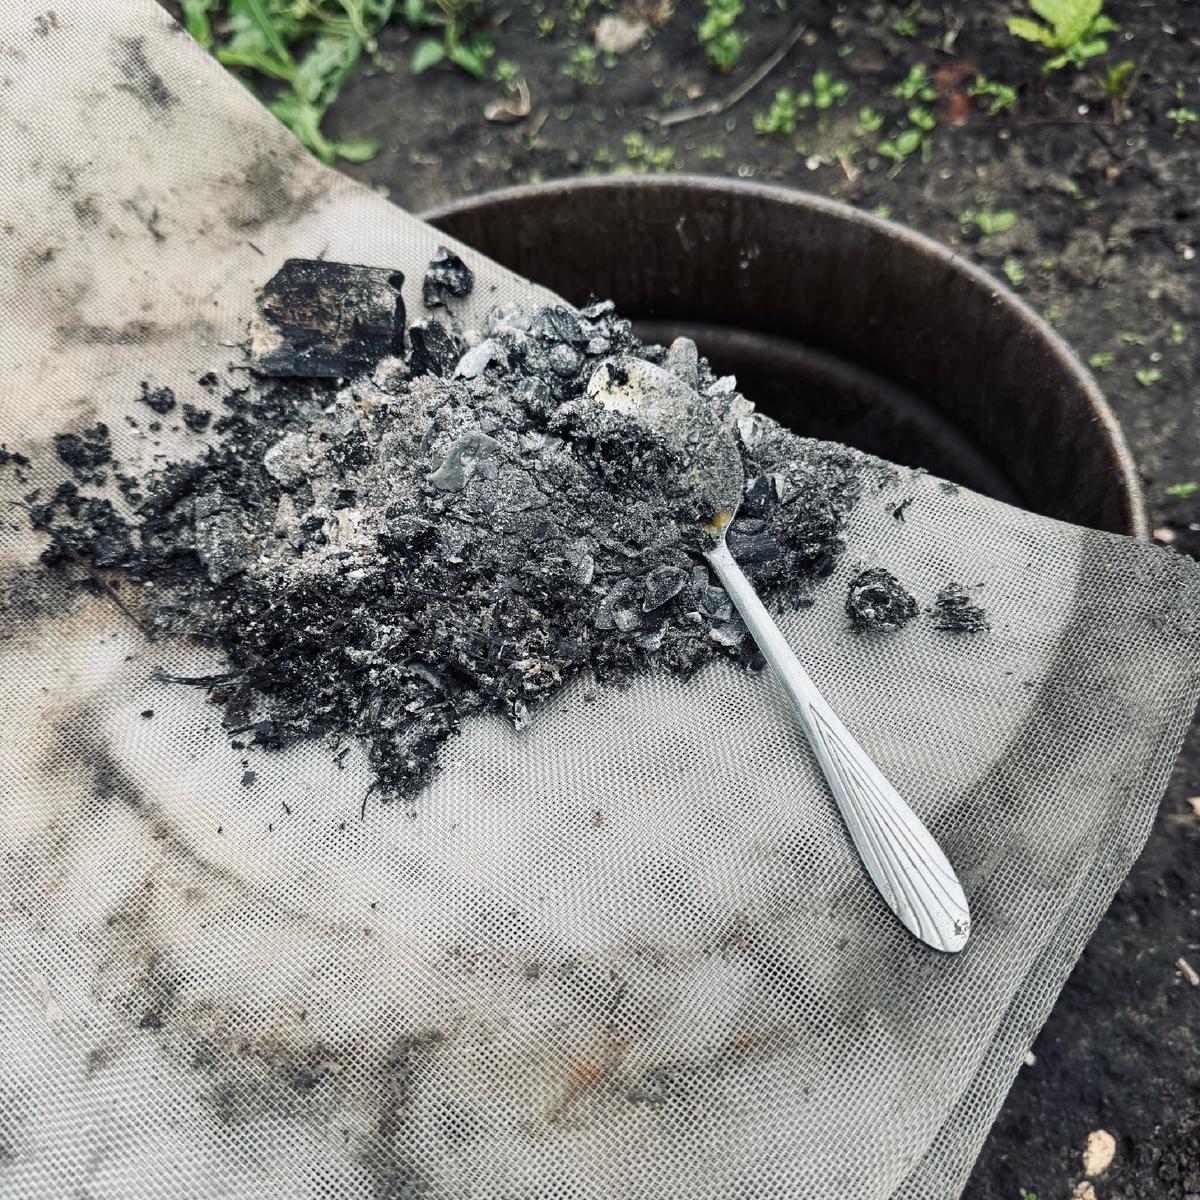
Clean Wood Ash (from a fireplace or fire pit—never use ash from treated wood or charcoal briquettes)
Room temperature, filtered water
Step 1: The Wood Ash Tea
Mix 1 tablespoon of wood ash into 1 quart (1 liter) of water.
Let it steep for a few hours, then strain out the chunks.
Crucial: Water your seedlings with plain water first so you don't burn the roots.
Pour about 2 ounces (1/4 cup) of the ash tea at the base of each seedling.
Step 2: The Iodine Foliar Spray (One Week Later)
Add exactly 1 drop of iodine to 1 quart (1 liter) of water. Mix well in a spray bottle.
Wait a full 7 days after the wood ash treatment.
Lightly mist the tomato leaves early in the morning.
The Real-World Results
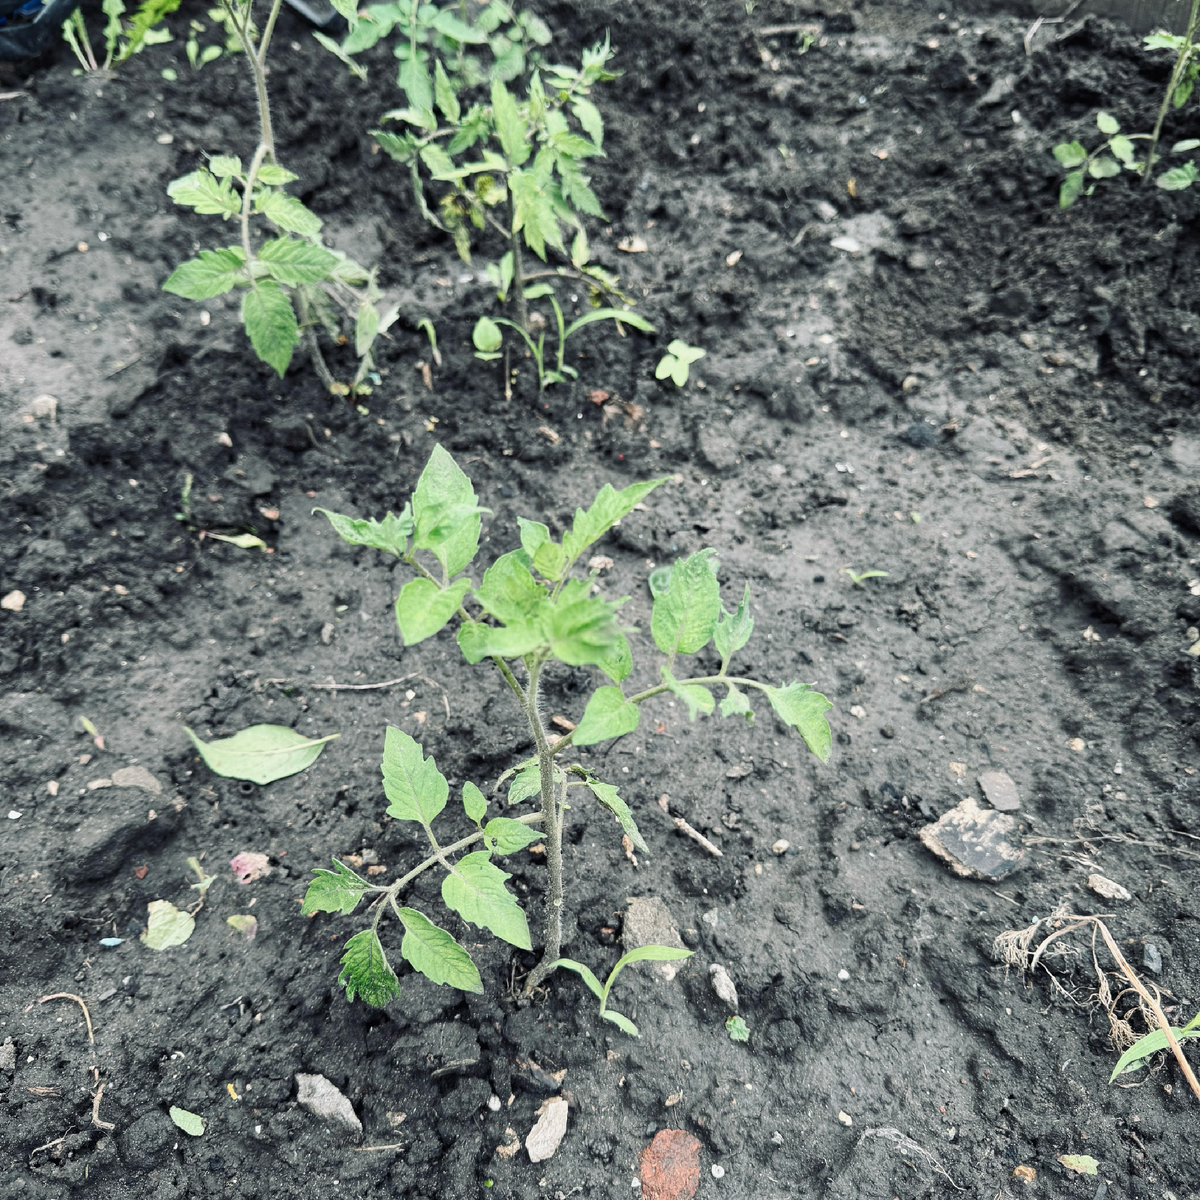
Within 3 to 4 days of the wood ash watering, the transformation was obvious. The stems thickened up, and the pale, yellowing leaves turned a rich, deep green.
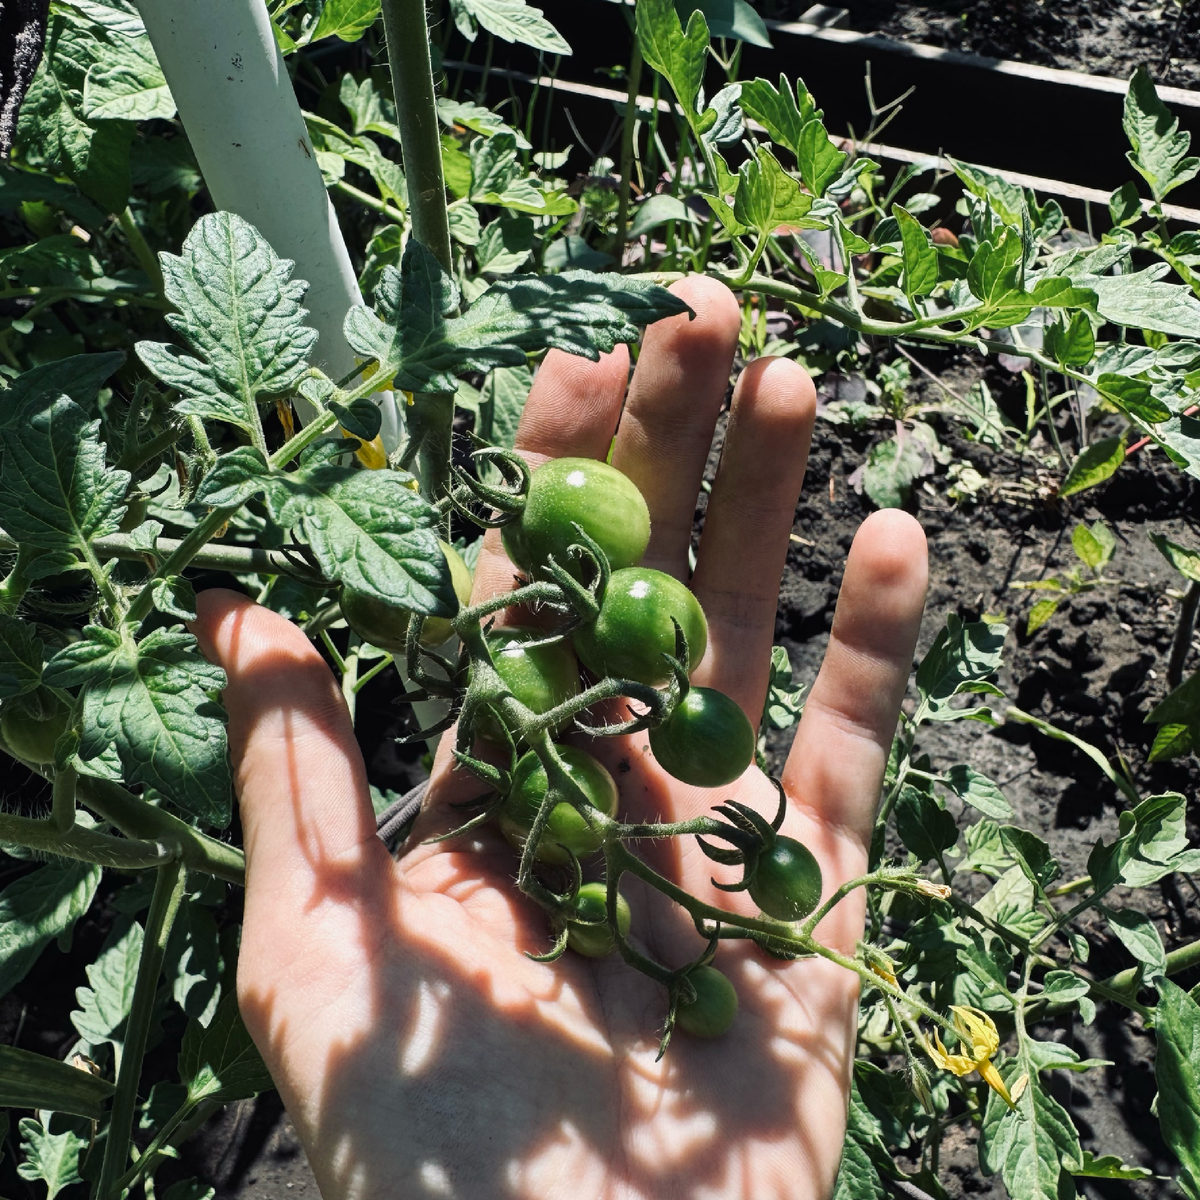
A week later, after the iodine spray, the leaves developed a healthy, vigorous shine. Even the "runt" seedlings that I was ready to throw away caught up to the rest of the batch. Later in the season, these plants flowered almost a week earlier than my previous batches, and the tomatoes were incredibly dense and flavorful.
My "Oops" Moments (Mistakes to Avoid)
I learned a few things the hard way during this experiment:
Respect the Dosage: I accidentally sprayed one plant with a slightly stronger iodine mix, and it developed pale burn spots. One drop per quart is all you need!
Don't Overdo the Ash: Too much wood ash will drastically spike your soil's pH and cause the leaves to curl. Stick to the recipe.
Watch the Sun: Only spray the iodine solution in the early morning or on an overcast day. Spraying in direct sunlight will scorch the wet leaves.
Quick FAQ
Can I mix the ash and iodine together? No. Chemical reactions can occur, making the nutrients unavailable to the plant. Always separate the treatments by at least a week: ash first, then iodine.
Can I use this on other seedlings? The wood ash tea is great for peppers and eggplants. However, keep the iodine spray strictly for your tomatoes.
How often should I do this? I do the wood ash watering twice (spaced a week or two apart) and the iodine spray only once right before transplanting them outdoors.
Gardening is all about experimenting and finding what works for your specific plants. This budget-friendly, organic method completely turned my tomato season around!

 DIY & Decor
  Edible Garden
  Houseplants
  Lawn & Landscaping
  Outdoor Plants
  Tips & Tools
No comments yet.